
How long does tuckpointing take?
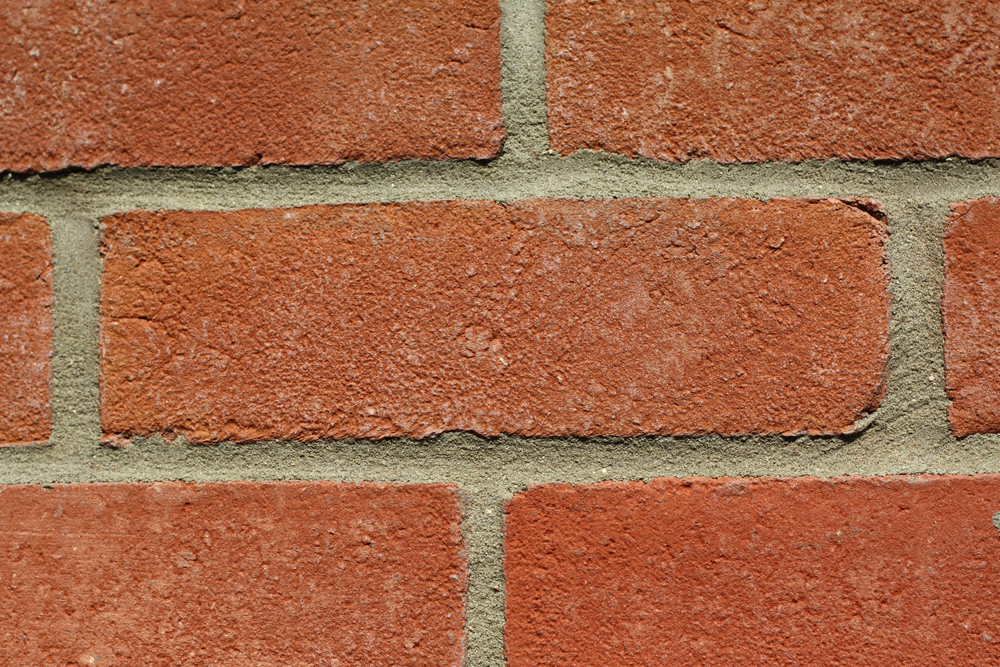
Tuckpointing is the process of removing the old mortar from a brick wall, cleaning the area, and then filling new mortar between the bricks. Typically, any brick building that’s more than about 20 years old will start to need tuckpointing.
One of the questions we’re asked sometimes is how long tuckpointing takes. As with many other restoration jobs, that depends greatly on the size of the building and how deteriorated the existing mortar is. We recommend that clients look at tuckpointing as an ongoing preventative maintenance task rather than a one-time whole-building task, which helps keep the time and cost down for each tuckpointing job.
Here’s an overview of the basic process for tuckpointing and factors that contribute to the time it takes.
Visual on-site inspection
The first step in the process of determining how long tuck tuckpointing will take is an on-site visual inspection of your building. This helps us assess the extent of the deterioration. If repairs are only needed in a few small areas, that’s a quicker job than if the entire building needs to be tuckpointed for structural integrity or visual appeal.
Estimate for cost and time
After an on-site inspection, we’ll provide an estimate of the cost and the time it will take our team to tuckpoint the identified areas of your building. Weather can affect the time it takes to complete a project. We don’t want to remove mortar and leave areas of your building exposed if rain is on the way. In addition, both rain and humidity can affect the speed at which new mortar dries.
Removal of old mortar
Once we begin the actual tuckpointing process, the first step is to remove the old crumbling mortar from identified areas. The mortar can be removed to varying depths depending on the age and condition of the building and whether the tuckpointing is for cosmetic purposes or structural integrity. Because the removal of mortar exposes the building to the elements, we work in small sections to remove and replace the mortar.
Cleaning and filling mortar
Once the old mortar is removed, we clean the area well to ensure no old bits of mortar or mortar dust prevent the new mortar from adhering to the brick.
Finally, the last step is the process of filling new mortar. That also involves careful color matching so that the tuckpointed areas blend as seamlessly as possible with the old mortar.